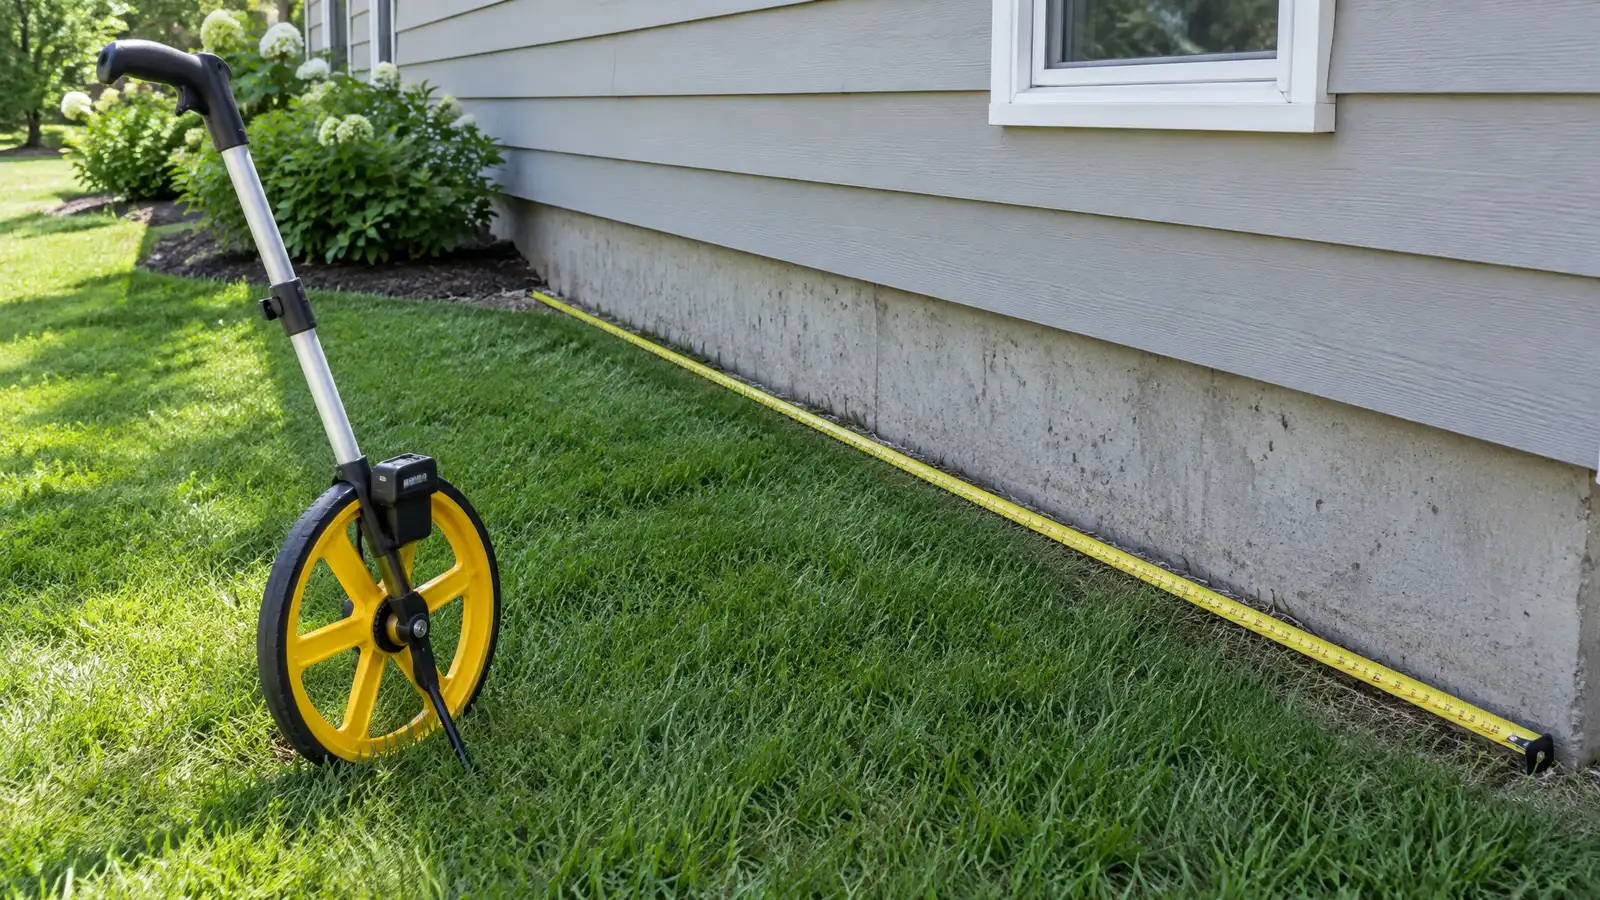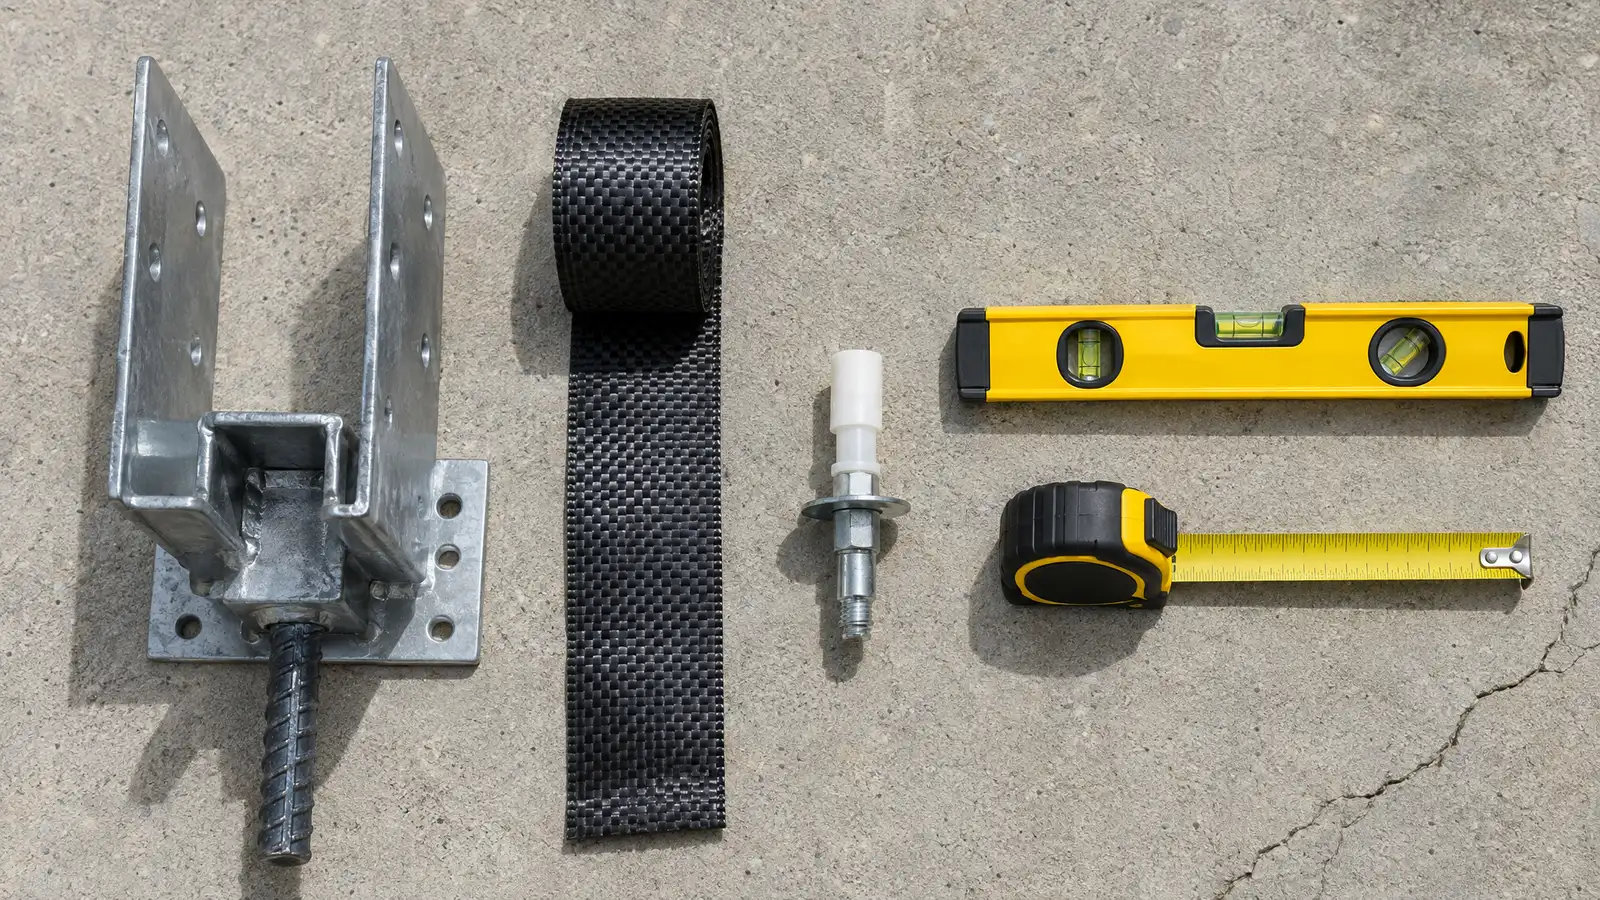
Start with the site
Slope, soil, drainage and nearby trees all shape the foundation. A site visit and, for many projects, a soils report let the design fit the ground.
Surprises in the field cost far more than questions on paper.
Walk the site with the builder and note low spots, trees and water paths.
Choose the type
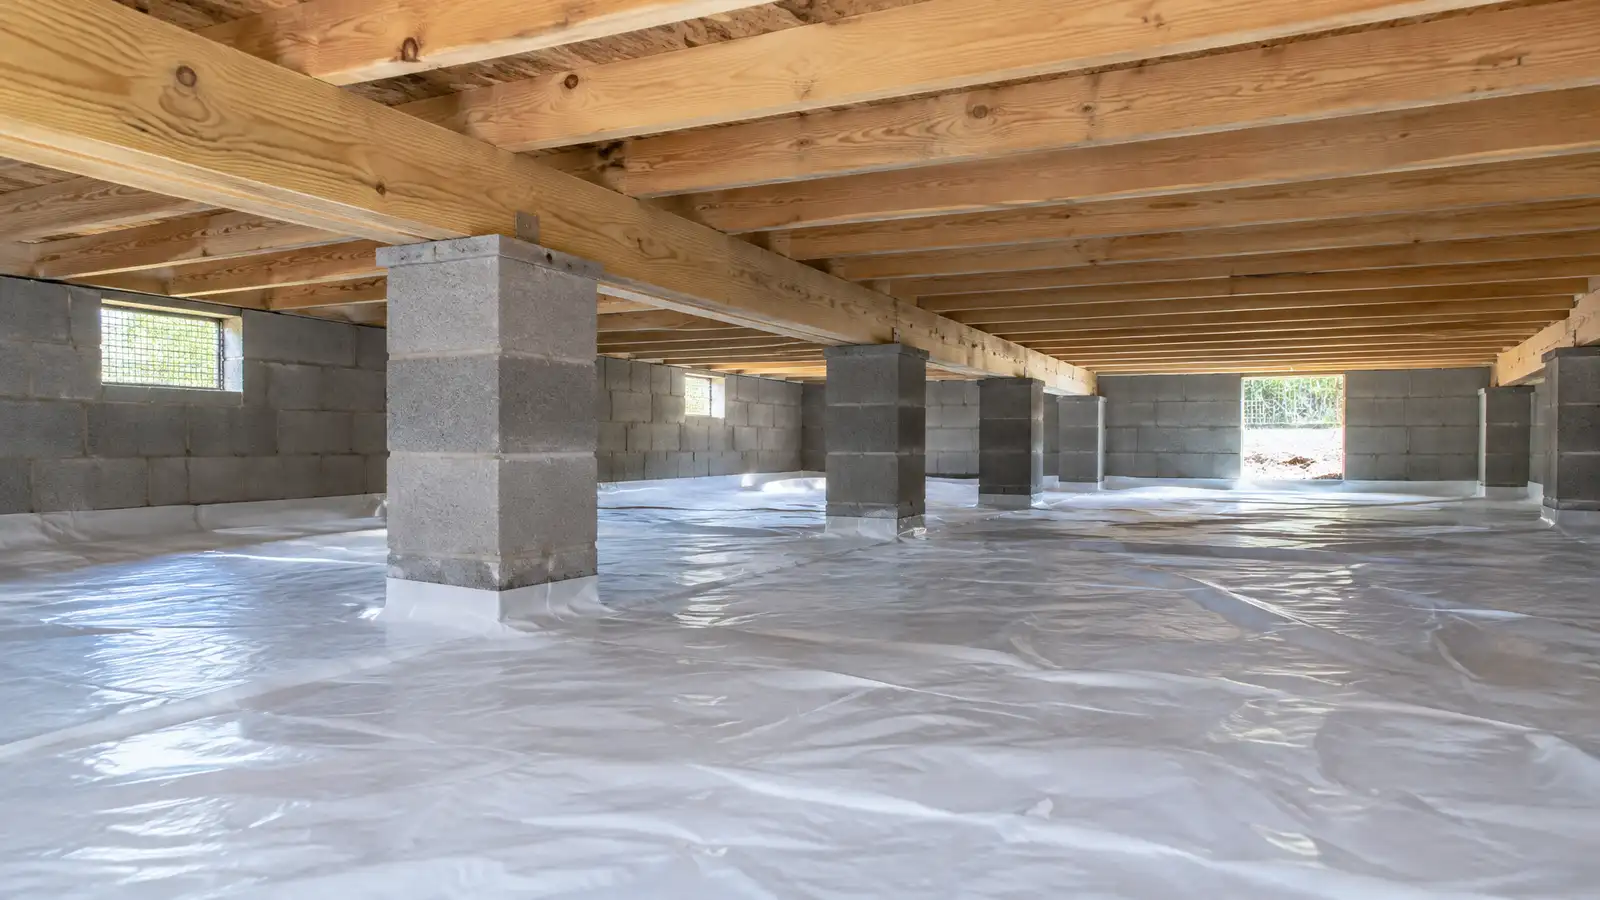
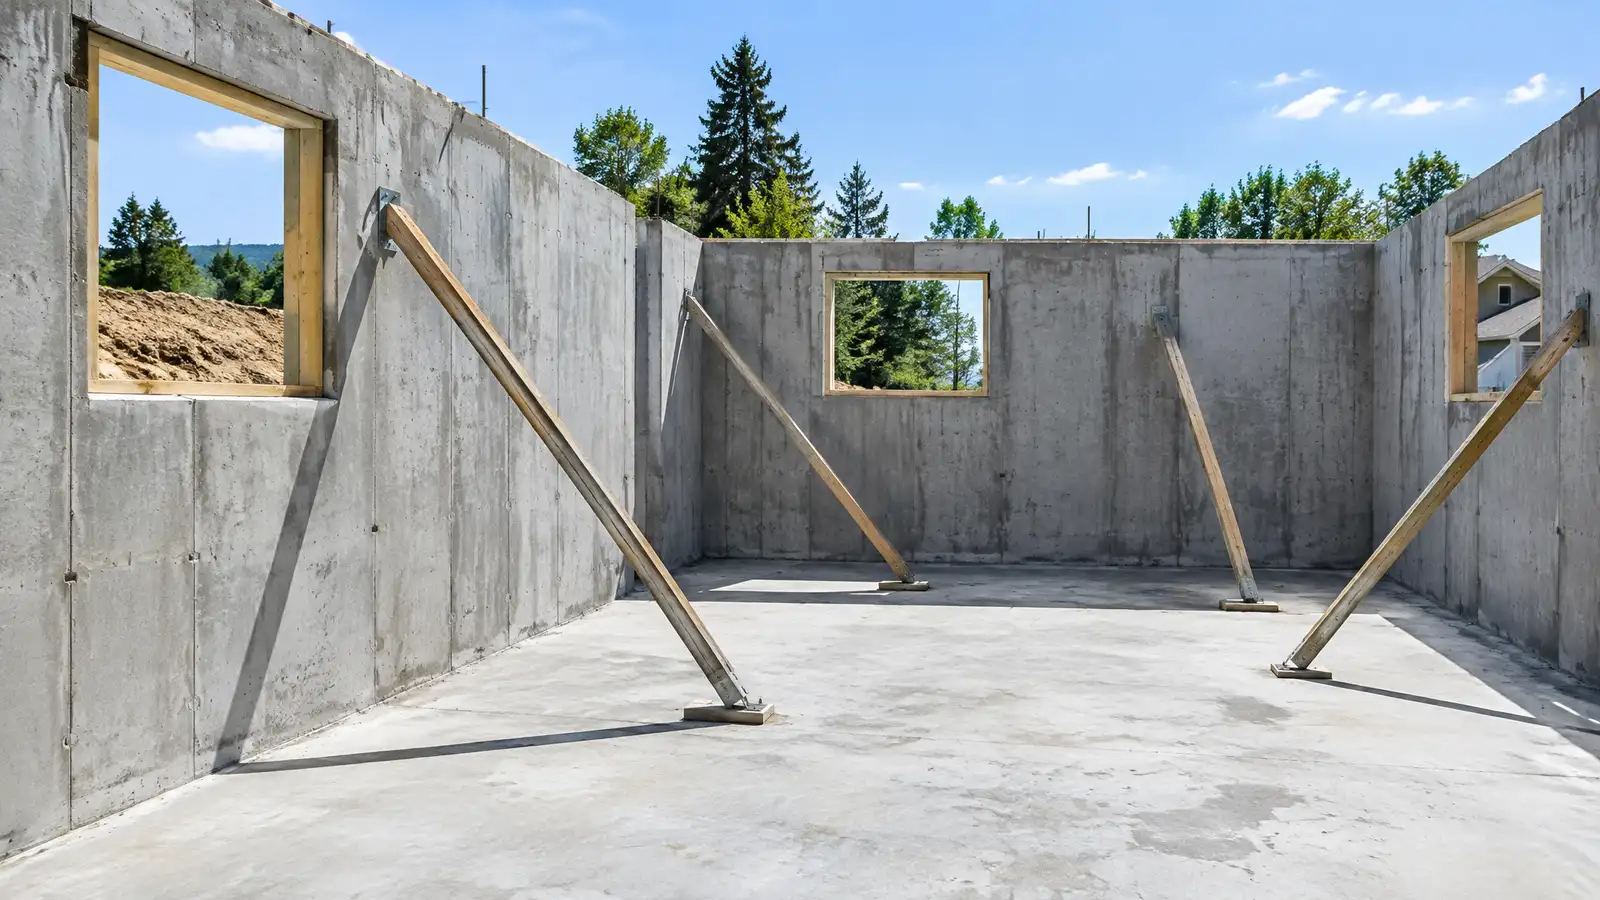
Slab, crawl space, basement and pier and beam each suit different lots and goals. Think about how you will use the house, what the lot allows and how you will maintain it.
Your specialist and builder can explain how each performs in this region.
Ask which foundation types the builder uses most, and why.
Footings and walls
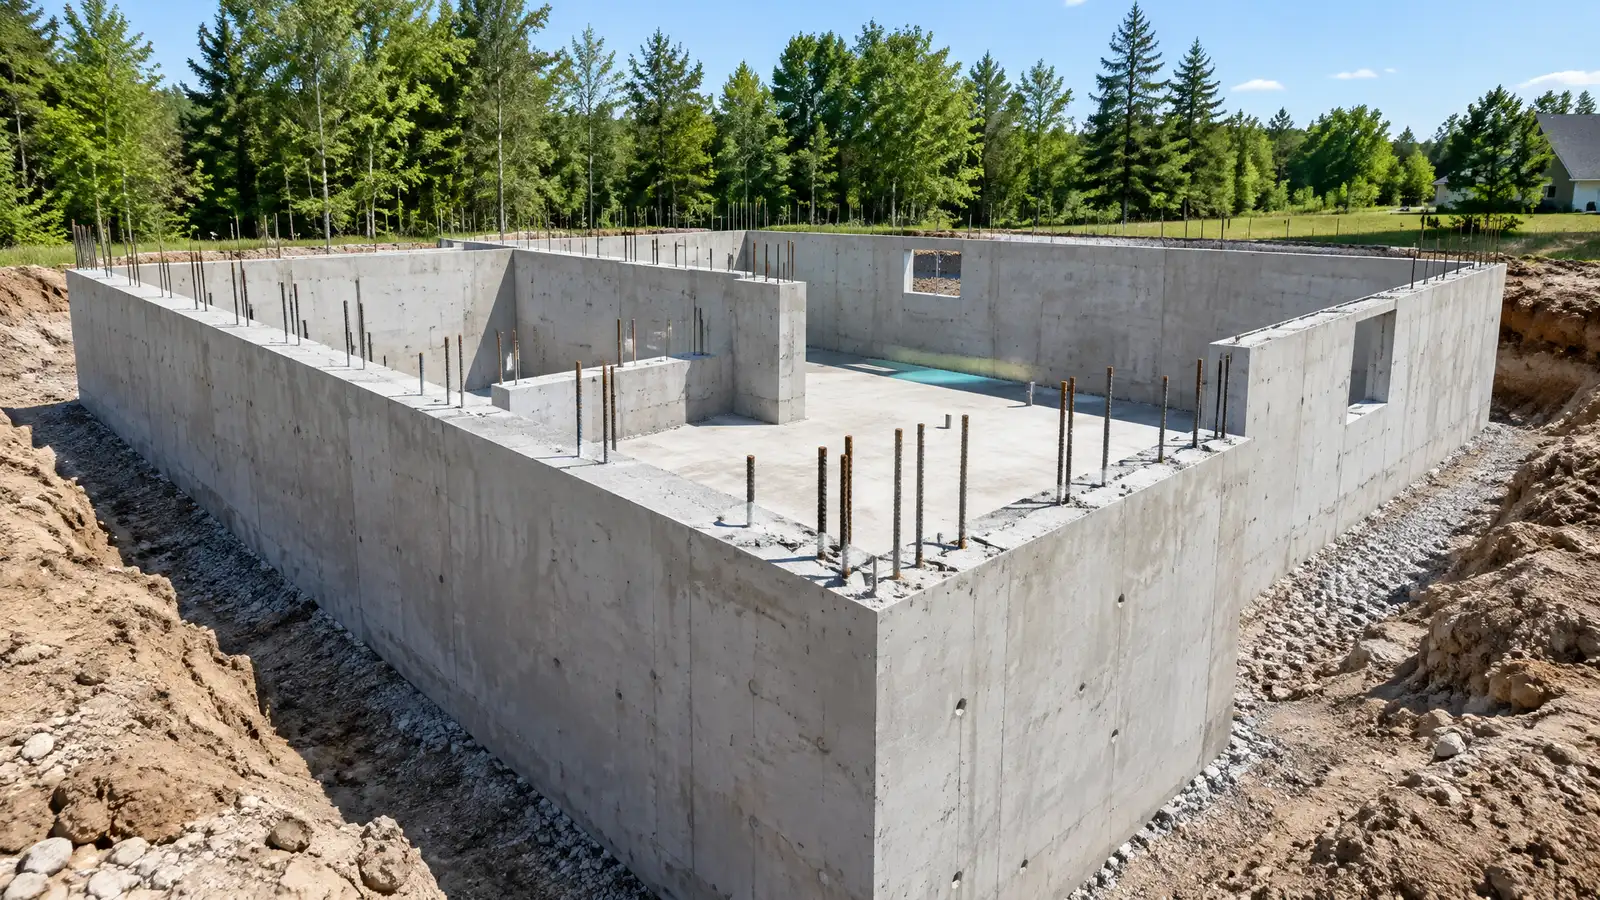
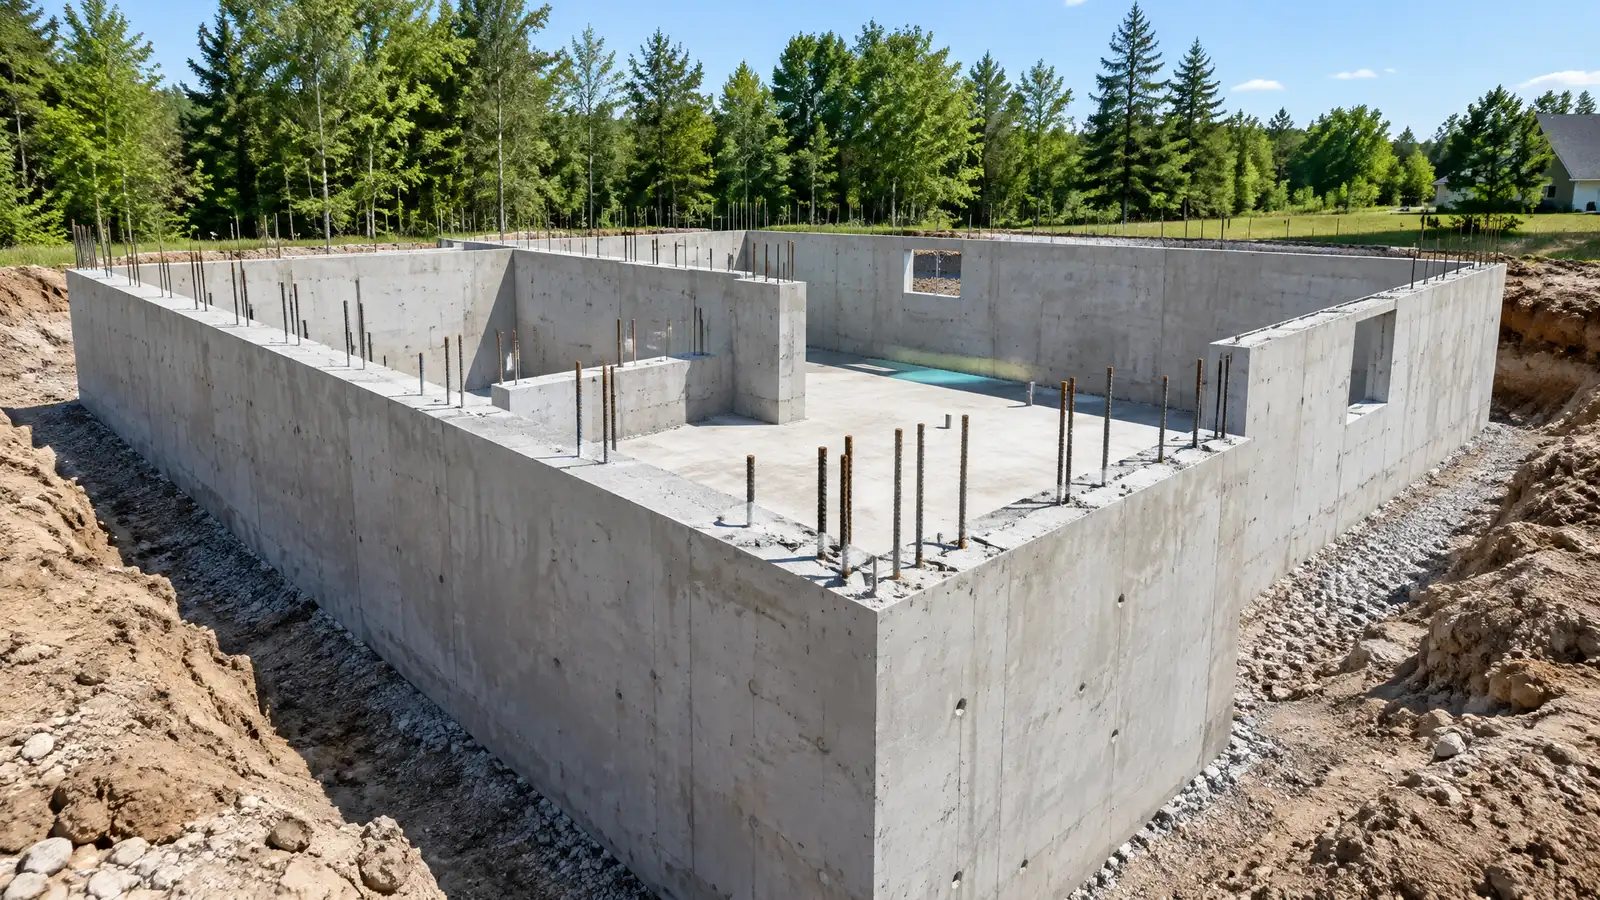
Footings spread the load into the soil, and walls rise from them. Depth, width and steel come from the design and local codes. Inspections happen before concrete is poured and before backfill.
Ask to see photos at each stage.
Ask to see the inspection record. It shows what was checked and when.
Water control from day one
Waterproofing, footing drains, sump pits, grading and gutters are easiest to build right at the start. They protect the foundation for the life of the house.
Plan outlets for every drain.
Put drain outlets on the plan, not just on the invoice. They need space and slope.
Concrete quality
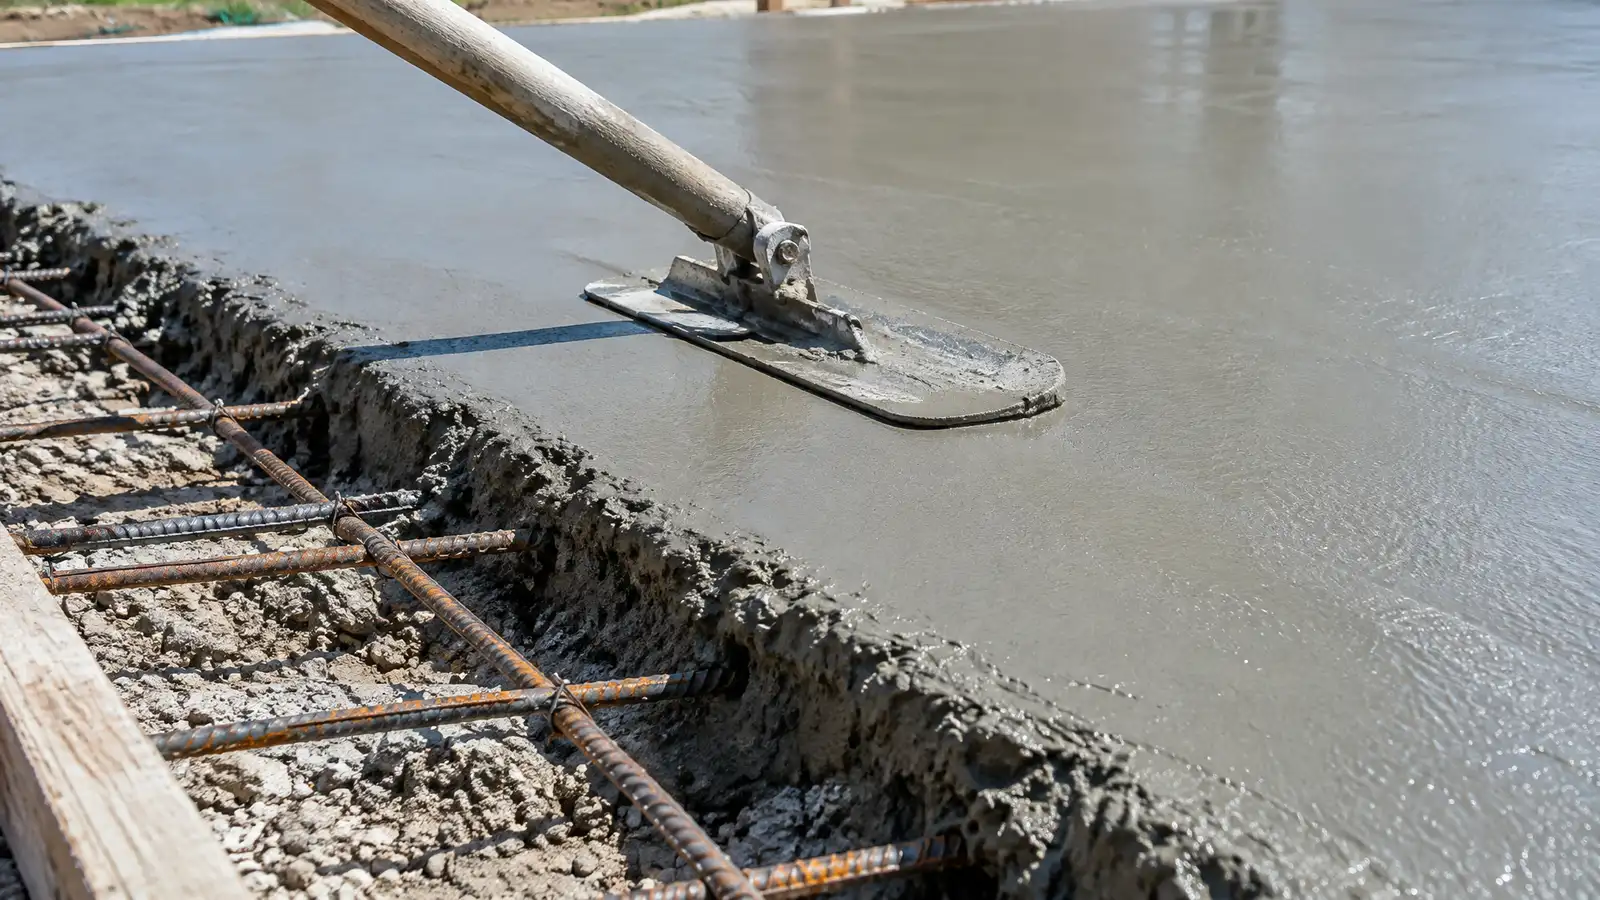
Mix, placement, finishing and curing all matter. Weather affects pours, and good crews plan for hot, cold and rainy days.
Slab edges, joints and vapor barriers deserve attention too.
Check the weather forecast with the crew before a pour. Good scheduling improves quality.
After the pour
Foundations need time before loads are added. Backfill, grading and landscaping come in the right order. Once the house is finished, check drainage after the first big rain and take photos of any early cracks.
Take photos at the end of each stage, including the inside of the forms and the drains.
Spend time on soil, footings and water control before the pour, because nothing is easier to fix on paper.